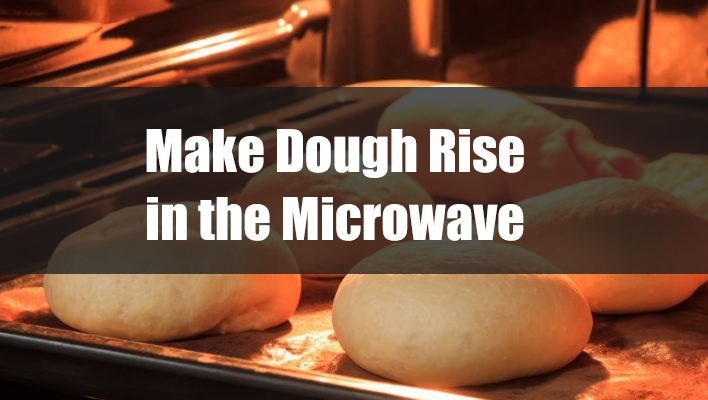
Every great baking recipe begins with a perfectly risen dough. Whether you want to make bread or pizza, a great dough is the key to perfection.
However, making great dough requires some skills and practice. It also requires the baker to understand the science behind proofing dough and to master the art of rising the dough.
In today’s blog post, we will guide you through every detailed step of making dough rise in the microwave. Let’s get started.
How to Make Dough Rise in the Microwave?
Simply put, proofing dough is the step when you allow the yeast-based dough to rise before you put it in the oven to bake.
It is a crucial stage in making bread and other baked foods. The cooking result, including its taste and texture, will be determined by this crucial step.
When you let the dough rise properly, it will help you achieve the bakery-worthy results that every baker desires.
Now, let’s walk you through each step of making dough rise in the microwave.
In this post, we will be making dough for bread as an example. If you already have your dough ready, you can jump to step 3.
Step 1. Make the dough.
Pour 150g of bread flour, 165g of whole milk and 1g of yeast into one big bowl. Mix them together. And keep mixing until there is no dry flour in the mixture.
Step 2. Knead the dough.
When there is no dry flour in the dough, we need to knead the dough for a while. During the kneading process, gluten, a protein network that gives the bread its structure and elasticity, will be developed.
Step 3. Let the dough rise in the microwave.
The time needed to make the dough rise highly depends on the recipe and ambient temperature.
The capacity of a microwave oven is usually small, and it usually has a good heat circulation. Also, it is airtight enough to keep warm easily, which makes it perfect to proof dough in the microwave.
When you knead the dough until it’s smooth, put the dough in a container with a lid. If you don’t have any, put the dough on a plate and seal the bowl with some saran wrap.
RELATED READING: Is it safe to microwave saran wrap?
Then put a bowl of hot water at 40 to 45 degrees below the dough, and let it warm the dough from below.
At this moment, the microwave oven is like a thermostat. You don’t need to turn on the microwave for heating. All you need to do is to close the door of the microwave, and let it sit. The proofing process should be done in an hour or so.
If you don’t proof the dough in the microwave, the whole proving process could take up to two hours. Making dough rise in the microwave could effectively speed up the process.
Secret trick: To test whether the proving process is completed, dip your finger in water and poke a hole in the dough. When the dough is perfectly proofed, it will not shrink or sink when you poke it. (When the dough doesn’t rise adequately, it shrinks. However, if the dough rises excessively, it sinks.)
Step 4. Shape the dough.
Now you have a big dough which has risen in the microwave. Punch it down gently to liberate trapped carbon dioxide and redistribute the yeast, so that the dough can easily shape.
It’s time to shape the dough into the shapes for your recipe. For example, you can shape the dough into rolls, oblong loaves, oval or other shapes you desire.
Step 5. Proof the dough again.
When you have turned all the dough to the desired shapes, place them on a baking pan. Cover the pan with some saran wrap and let it sit.
This is another chance to proof the shaped dough, and it allows for a second rise.
The duration of the second rise should be shorter than the previous rise, which should take 30 minutes or so.
Step 6. Time to bake!
Now the dough is ready to bake in the oven after the second rise. You could now put them in the oven and bake it for the appropriate amount of time.
Bottom Line
Making dough rise in the microwaves is an essential step of baking. Proofing dough in the microwave can significantly shorten the rising time and give the dough great texture in a short time.

